If you’re a dog owner, you know how quickly a beloved toy can go from squeaky new to shredded and forgotten. But before you toss that torn-up toy in the trash, consider giving it a second life! I’ve always been a fan of DIY fixes, and over the years, I’ve learned a few tricks to repair dog toys and make them as good as new. In this article, I’ll share step-by-step instructions on how to fix a dog toy, whether it’s a plush squeaker, a rubber chew, or a rope toy. Not only will this save you money, but it’ll also keep your pup entertained and happy.
Why Fixing Dog Toys Matters
Dog toys aren’t just fun—they’re essential for your dog’s mental and physical well-being. They provide stimulation, relieve boredom, and even help with dental health. However, constantly replacing torn or broken toys can get expensive. By learning how to repair them, you can extend their lifespan and reduce waste, all while keeping your dog’s tail wagging.
How to Fix Different Types of Dog Toys
Here’s how to repair some of the most common types of dog toys:
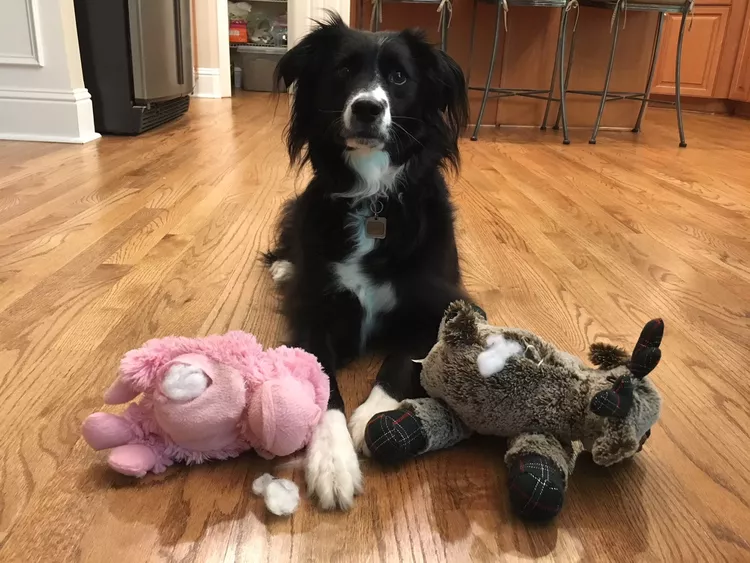
1. Plush Squeaker Toys
- What You’ll Need: Needle, strong thread (like dental floss or upholstery thread), scissors, and stuffing (if needed).
- Steps:
- Remove any loose stuffing and the squeaker (if it’s still intact).
- Turn the toy inside out and sew up the tear using a strong, tight stitch.
- Add fresh stuffing if necessary, then sew the toy closed.
- Reinsert the squeaker and sew the final opening shut.
2. Rubber Chew Toys
- What You’ll Need: Food-grade silicone adhesive or a rubber repair kit.
- Steps:
- Clean the toy thoroughly and let it dry.
- Apply the adhesive to the torn area, following the product instructions.
- Press the edges together and hold until the adhesive sets.
- Let the toy cure completely before giving it back to your dog.
3. Rope Toys
- What You’ll Need: Scissors and a new piece of rope (cotton or hemp works well).
- Steps:
- Cut away any frayed or damaged sections of the rope.
- Tie a new piece of rope to the remaining strands using a secure knot.
- Trim any excess rope and ensure the knots are tight.
4. Tennis Balls
- What You’ll Need: Scissors and a utility knife.
- Steps:
- Cut a small slit in the tennis ball.
- Insert treats or kibble inside to create a DIY puzzle toy.
- Supervise your dog while they play to prevent them from swallowing pieces.
5. Interactive Puzzle Toys
- What You’ll Need: Food-grade silicone adhesive or a plastic repair kit.
- Steps:
- Clean the toy and let it dry.
- Apply the adhesive to any cracks or broken pieces.
- Let the adhesive cure completely before using the toy again.
Tips for Making Dog Toys Last Longer
Here are some additional tips to help your dog’s toys stay in good shape:
- Rotate Toys: Regularly switch out your dog’s toys to keep them interested and reduce wear and tear.
- Choose Durable Toys: Opt for high-quality, durable toys designed for your dog’s size and chewing style.
- Supervise Playtime: Keep an eye on your dog while they play to prevent them from destroying toys too quickly.
- Clean Toys Regularly: Wash plush toys and clean rubber or plastic toys to keep them hygienic and safe.
When to Toss a Toy
While repairing toys can save money and reduce waste, there are times when it’s best to let go:
- If the toy is beyond repair: Severely damaged toys can pose a choking hazard.
- If the toy is unsanitary: Toys that can’t be cleaned properly should be replaced.
- If your dog has lost interest: Sometimes, it’s better to retire a toy and introduce something new.
Final Thoughts: A Little Effort Goes a Long Way
Fixing a dog toy might seem like a small task, but it can make a big difference for your pup and your wallet. With a little time and effort, you can breathe new life into old toys and keep your dog entertained for hours. So, grab your sewing kit or adhesive, and get ready to become your dog’s favorite toy repair expert!
Have you ever fixed a dog toy? Share your tips and tricks in the comments below, and don’t forget to tag a friend who loves DIY projects. Together, let’s keep our pups happy and their toys in great shape!


+ There are no comments
Add yours